
.JPG)
Here's what I did :
First I made digital images to cover/decorate the tops with. This image is the 5x7" jpeg that I had printed at a local store. I added extra flowers and labels onto these files so I would have extras for decorating tags/cards/boxes. (No need to waste that extra printing space!)
.jpg)
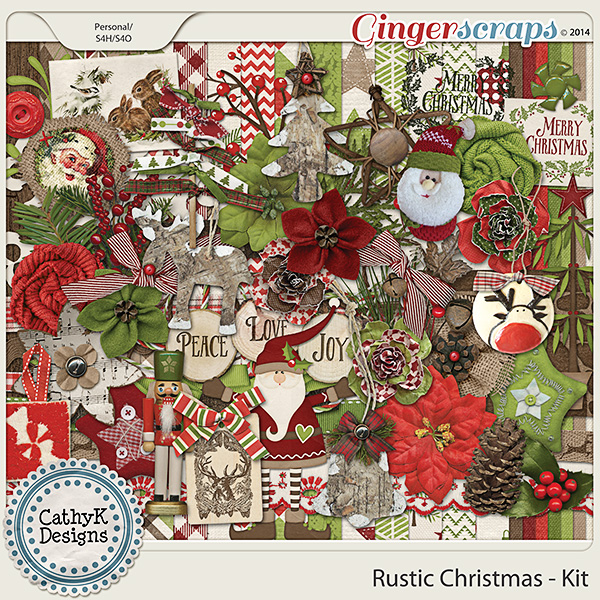
I used Cathy Krenek's "Rustic Christmas" digital scrapbooking kit for my project
After picking the printed images up, I cut them all out using scissors, there is no need to be absolutely accurate at this point.
.JPG)
Next step is to glue the print to one (the top side) of the disk and fill in the hole with punched circles. This is to prevent the paper from sagging and making a hollow in the hole.
.JPG)
And now I can trim the little extra bit off around the disk.
.JPG)
Next I draw a line around the disk onto a piece of felt. I had wanted to use green, but did not have enough, so the red got used instead!
.JPG)
...and I cut the circle out just inside the ink line.
.JPG)
More glue on the disk (I used Aleene's Tacky Glue) and onto the felt it goes. The disks have a slight edge or rim on the under side. This can leave a ridge when covered by paper, but the felt hides it well. That is why I stick the paper to the top and the felt to the bottom)
.JPG)
A quick trim gives me nice flush edges.
.JPG)
The final step is to add some sort of sealer to make the coaster water proof. In the past I've used a spray sealer, but this time I used an acrylic floor wax. I tested a sample with drops of water left on overnight and there was no damage. Hopefully that means it will last well! We used ours over Christmas and had no 'problems' It looks a little streaky here on the picture, but I wanted to show you the nice gloss it gives them!
.JPG)
.JPG)
I left the disks to dry overnight and then set them aside for a few days to 'harden' I don't think that is necessary but I did it anyway!
And here they are, all 8 of them.
.JPG)
In the end I'm happy with the red 'bottoms', they look festive!
.JPG)
They make handy little gifts for the holidays. I tried not to make them so Christmassy that one cannot use them the rest of the year.
%2B(2).JPG)
2 comments:
What a great idea! You are so clever.
Oh WOW! These look really stunning and what a marvellous idea. I have just threw out some old CD's yesterday, which I will have to quickly go and retrieve. Am always on lookout for different ways of dressing up the Christmas table and these are a must do for next Christmas! Thanks for sharing. Kay.
Post a Comment